

Easy Do-It-Yourself 4th of July Dessert Treat

Red, White & Blue Strawberries
Jill shows us how to turn strawberries into a red, white & blue Fourth of July treat!
This week, our Jill of All Trades, Jill Washburn, shows us a simple and sweet red, white, and blue treat for the Fourth of July or any summer holiday. Since it uses fresh strawberries, it’s perfect for the Fourth, since that’s about the time that strawberries are in season.
Jill starts with a pack of fresh strawberries. She’s picky about the look and color of them, since that is key to a great finished product. Jill says to try to find berries that are very red, but not overly ripe. They need to be firm to hold up to the dunking process.
Next, let’s talk about the candy melts. Jill wanted blue and white, to complete the red, white & blue theme. She recommends the bright white candy melts, if you can find them. Blue was a bit tough. Jill could only find a soft baby blue candy melt, so she had to improvise. She bought the soft blue ones and also picked up some royal blue paste cake tint and some black, as well.
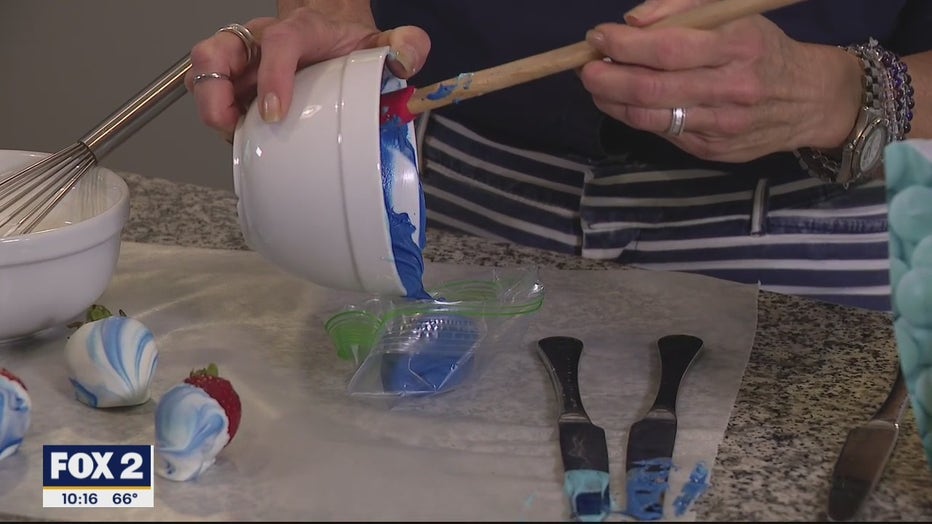
I'm putting the tinted melted candy into a ziploc bag.
Prepping the Berries:
Many candy makers do not wash their strawberries before coating them. They feel that it affects the berries adversely. If you insist on rinsing the berries before dunking, make sure that you dry them super well. You can gently pat them dry with a paper towel.
Melting the Coating:
You can melt the candy melts in a double boiler, if you wish. Jill chose to melt hers in the microwave. It’s faster, says Jill, but you do have to babysit them a little more, microwaving in short intervals and then checking the candy to see how it’s melting. It is possible to do too much and scorch the candy melts.
Jill melted the blue ones first. Once they were melted and stirred smooth, she started adding the royal blue tint to get more of the USA flag blue that she was looking for. She was able to get the blue that she wanted by adding just the royal blue. You may need to add other colors, Jill says, to get the blue that you want. Adding a tiny bit of black, or even purple, will make the blue darker and/or more of a navy blue.
Adding the tint to the candy melts can make them thicken up. You may need to warm them a little more, or you may need to stir in a little drizzle of oil to get them back to the consistency you want.
With the blue all set to go, Jill then melted the bright white melts and stirred them until they were smooth. It’s time to dunk!
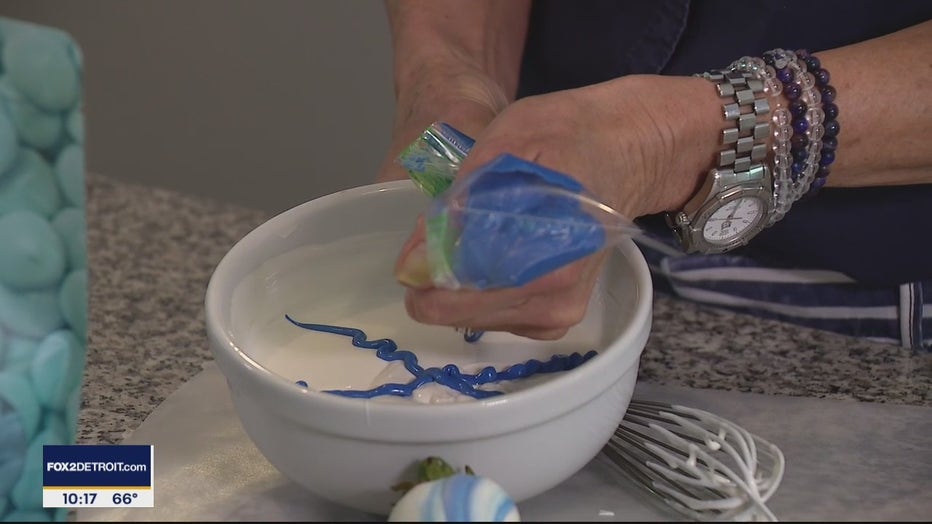
I'm piping the lines of blue candy into the white.
Jill had the white melts in a small, somewhat shallow bowl. She then put the melted blue candy in a ziploc bag and cut off a tiny bit of one of the bottom corners, so that she could use it like a pastry bag. Jill used the bag to pipe 3 blue lines in the shape of an asterisk on top of the white melted candy. The lines should be about as thick as a fat pencil or a sharpie.
***PRO TIP*** Have a piece of parchment paper or wax paper already laid out to set the newly dunked berries on.
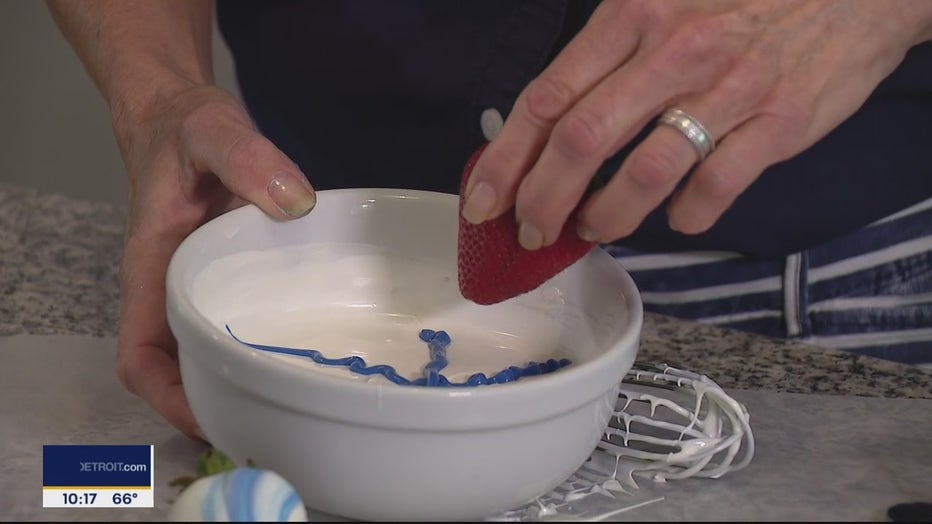
I'm dunking and swirling the strawberries through the melted candy.
Next, she took a strawberry and plunged it into the candy. She dragged it through the bowl, swirling it as she went. When she pulled it out, it had beautiful blue and white lines across it. It may take you a few berries to figure out how to get the best patterns. Some of them almost looked marbleized.
After a few berries, Jill needed to pipe more of the blue on top of the bowl to keep the cool patterns going.
Once they’re dunked, set each berry on the parchment paper to dry and firm up. Once, the coating has firmed up, you can easily transfer them to a serving plate or pack them up for travel.
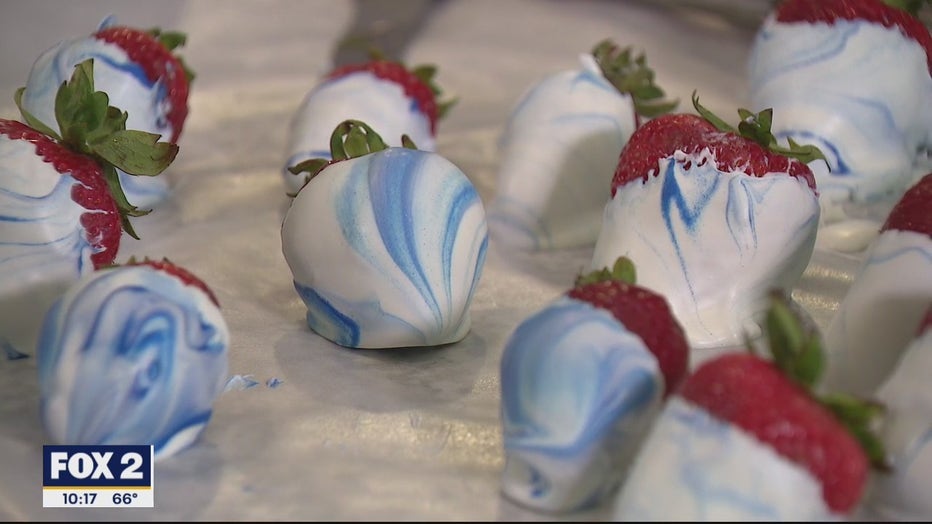
The finished product!
That’s it! They’re done! And, they’re delicious! This is an easy, show-y treat to bring to a party or a family gathering (or just make a few to enjoy yourself).
PROJECT RATING: Easy+
To watch Jill take you through the process, just click on the video player above.