How to install LED strips for your under-cabinet lighting
(FOX 2) - This week our Jill of All Trades, Jill Washburn, tackles some under-cabinet lighting in the kitchen.
Jill's kitchen had some "puck lights" that were out-dated, not working properly, and somewhat visible beneath the cabinets. There are newer, better, more energy-efficient options available now and Jill shows us that they are so easy to install.

Putting up under-cabinet lighting with Jill of All Trades
In this episode of Jill of All Trades, she shows us how to put in some under-cabinet lighting with LED strips.
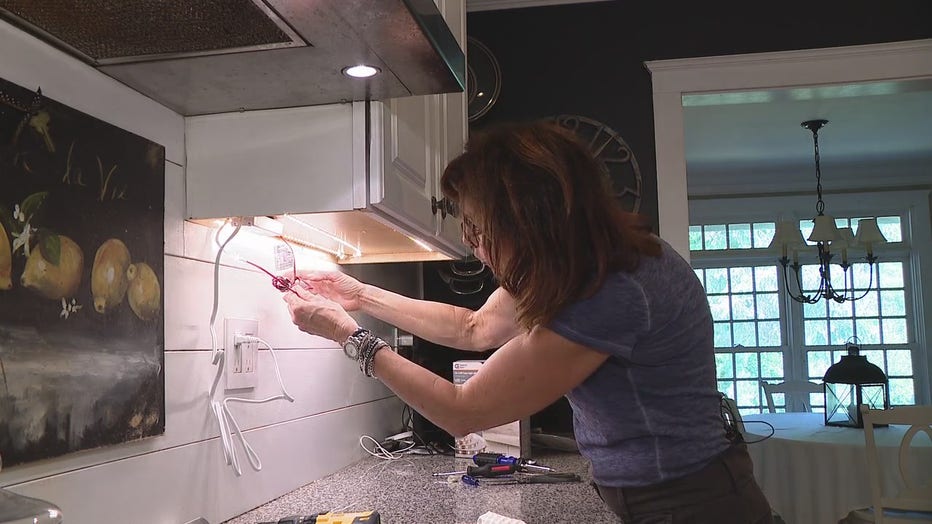
First, Jill had to remove the old lights. Of course, that starts with unplugging the existing set and then removing the lights and cords.
Once that is done, Jill recommends thoroughly cleaning the underside of the cabinet. Those spots become catch-alls for grease and grime and this is the perfect opportunity to tackle that space before you install the new lights. Plus, if you're installing lights with an adhesive back they'll stick way better on a clean surface.
Jill chose LED strips that are dimmable and have a remote. That way she can use them for task lighting when needed and then as accent lighting or mood lighting when she wants.
LED strips have a peel-and-stick backing, so they're super easy to install. Plus, now, they're connectable, so they're more versatile than they used to be. You can turn corners and angles now. Jill's set has little flexible connectors so she can take the lights back and forth under her cabinet for a total of three rows.
Once the cabinet bottom was clean, Jill measured off her first row of the light strip.
She started with the plug end, closest to where her outlet was located. The set that Jill bought is also hard-wirable, but Jill decided that it was easier to just plug them in. (She can always hard wire them in later, if she changes her mind.)
Once she had the length of her first row determined, Jill just had to cut two additional rows the same length.
The only limitation she had, when it came to cutting, was that she had to cut them at the little copper strips that are placed every couple of inches on the strips. You need the copper strips to insert into the connector pieces, says Jill, as they are your contact points. There are markings on the copper strips at the halfway point and that is where you should cut. It is easily done with ordinary kitchen scissors.
Once you have the lengths of lights cut, it's time to make your connections. (If you're doing just one solid strip of lights, you can skip this part.).
The connectors are a little plastic housing with a flap door that opens up. Once you open it, you'll see two little metal clips in there. You just slide the end of the light strip in until the copper points are under the metal clips. It may take a little wiggling to get them in, but it's not too difficult. Push them in as far as they can go, says Jill. Once they're in, just snap the little cover door shut. When all your connections are made, you're ready to hang.
Peel off the backing on the light strip. Try to keep the strips separate so that they don't stick together or fold back on themselves.
Now place them under the cabinet where you'd like them to be. Jill says, at first, you may want to just stick them at a couple of points to make sure they're where you want them. Once you're satisfied with the placement, then smooth the entire length out, making sure your adhesive sticks.
When you have all your light strips up, you may need to hide the wires on the connectors. There should be little stick-on plastic clips in your light kit just for that purpose. Then, you just need to attach the box up underneath the cabinet. Some of them can be screwed to the bottom of the cabinet. Jill just used stick-on Velcro to attach hers. It's easy and it can then be moved easily down the road, if need be.
After that, the only thing left to deal with is the wiring. If you're handy, you can easily shorten the wires and reattach them to the box. If you don't want to do that, you can just bundle them up and, again, use Velcro to tuck them up under the cabinet.
When you are done, nothing should be hanging down below the bottom edge of the cabinet. At that point, you can plug your lights in and you'll be good to go.
PROJECT RATING: Easy
To watch Jill take you through the process, just click on the video player above.