

How to put landscape lighting in your trees
(FOX 2) - This week, our Jill of All Trades, Jill Washburn, shows us how she took her landscape lighting off the ground and up into the trees.
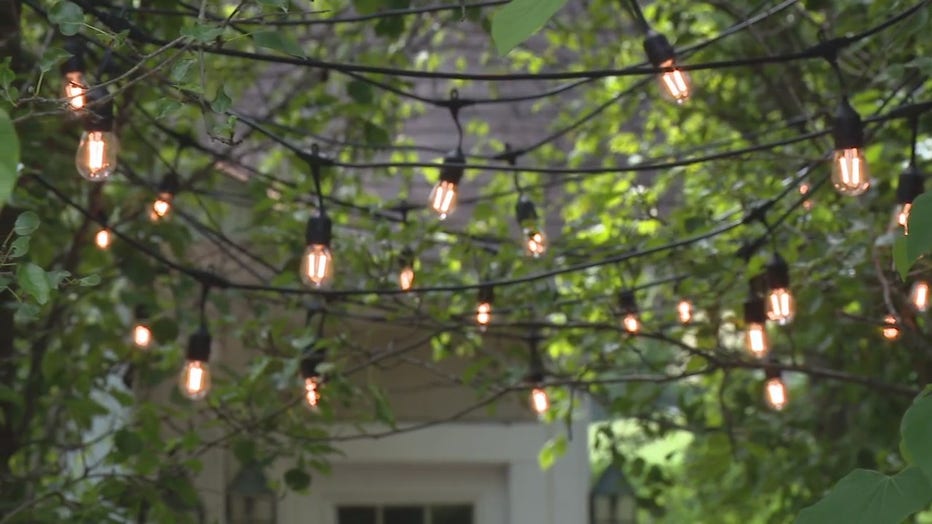
Jill‘s landscape lighting kept getting mowed down by her dogs running through her back yard, so her solution was to put market lights up in the trees along the path to her garage.

Jill of All Trades puts up landscape lighting
In this episode of Jill of All Trades, we learn how to put up landscape lighting in the trees.
Jill ordered her lights online. The choices are overwhelming, she says. Jill ordered hers from Amazon and chose LED bulbs that were dimmable.
LED lights make sense in this application for a couple of reasons. First, because the bulbs are plastic they are less likely to break if a strong wind blows them against the trees. And, if they do break, there won't be glass shards on the ground, which would be a problem for pets. Second, LED bulbs are much more energy-efficient.
Jill started by stringing the lights back and forth across her pathway, from tree to tree. Each bulb socket has a tab with a hole in it at the top that allows for a mounting screw.
Jill used these to screw some of the sockets to the trees. Driving a screw into a tree does cause some minor damage to the tree. Jill says to try to minimize the number of holes you create, and also says that there is no need to drive the screw all the way in. Leaving a little wiggle room for the tab socket will help in rough weather.
At other points, where she needed to fasten the wire to the trees between the bulb sockets, Jill wrapped self-sticking Velcro around the wire and the tree. Jill says that she could’ve used plastic zip ties, but she prefers the Velcro because it is easier on the tree and, as a bonus, it will be adjustable down the road, as the tree grows.
Jill made sure that she strung the lights high enough to have good clearance overhead. She also says to leave a little bit of sag or droop in the lines as you span from tree to tree. You may need the extra slack in the wire in case the trees blow around in a storm. Once Jill had the lights strung as she wanted them, it was time to figure out how to connect to a power source.
Jill used a heavy-duty outdoor-rated extension cord to connect the lights to a plug on her back porch. Once she had everything connected, she buried the extension cord.
To protect the cord properly, it needs to be it in a conduit before it gets buried. Once the power cord comes back out of the ground at the first tree, Jill wrapped it around the trunk of the tree a couple of times. This keeps the wire from flopping around, and also allows Jill to unwrap the cord down the road as the tree growth requires more cord.
Jill connected her cord to a dimmer unit (also found online), so that the lights can be dimmed as needed. She emphasizes that you have to make sure that your lights are dimmable before doing this.
With everything now connected, she can actually work the lights using an app on her phone. The dimmer unit allows you to turn the lights on, off, dim them, or brighten them as needed.
One hitch to that set up is that you have to have a plug fairly close to your router for the app to work well. There are other remote control dimmers available that work via radio waves, so you have many options.
Once you've got everything connected, a simple tap on the app or press of a button will have your yard looking magical.
PROJECT RATING: Medium (Lots of going up and down ladders)
To watch Jill take you through the process, just click on the video player above.