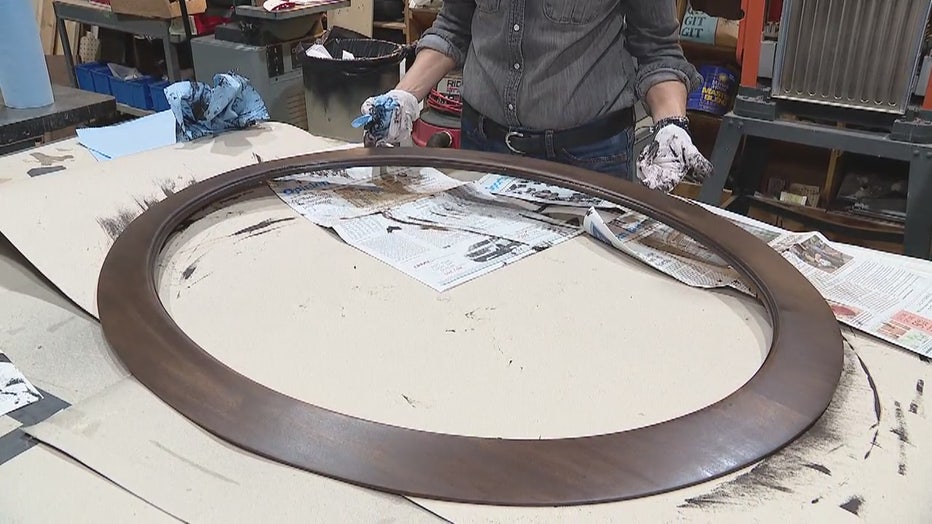
How to stain a mirror frame
(FOX 2) - This week, our Jill of All Trades, Jill Washburn, shows us how to stain the mirror frame that she stripped the finish off last week.
First, she lightly sanded the frame with 150 grit sandpaper to clean up any last bits of the last finish that may have remained on the frame. Jill says that you have got to work in the direction of the grain. After that, she gave it a quick sanding with 150 grit, she does the same process again with 180 grit sandpaper, again being careful to work only in the direction of the grain. Jill says to not go any finer than 180 grit. If you get the surface too smooth it's not going to want to take the stain.

Staining a mirror frame with Jill of All Trades
In this episode of Jill of All Trades, we learn how to stain a mirror frame.
Once the frame was lightly sanded, Jill cleaned it up using disposable shop towels (heavy-duty paper towels) and some denatured alcohol. Jill was careful to gently wipe away as much sanding dust as possible. Now it's time to stain.
Jill used a gel stain (Wood-Kote Jel'd Stain). She actually used two, mixing Mahogany with black, to get a dark enough brown.
Gel stains are pudding-like in consistency. Jill applied hers with a foam brush. Again, she worked with the grain, although some experts recommend working in a circular motion, when applying. Jill says to put the stain on fairly thick. Once everything is covered… you wait.
***JOAT NOTE*** Jill says, if you are doing a frame, and especially if you are doing a mirror frame, make sure you also stain the back of the inside edge of the frame, because once the mirror is in place, it will reflect the unfinished edge. Sometimes, even plain glass will show a little of it, so take an extra minute and coat that back of the inside frame edge.
After 10, 15, maybe 20 minutes, depending on the wood you're working with, check a test spot by wiping away a tiny bit of stain. If you've achieved the color you want, it's time to wipe it down.
If not, fill the spot back in with stain and wait a little longer. Then test again.
Once the color is the way you want it, take more of your paper shop towels and gently wipe away the excess stain. For sure, says Jill, you want to wipe with the direction of the grain. You will probably go through several shop towels.

Once you've wiped away what you want, you're done with the staining step. Let your piece dry in a safe spot for at least a day. Jill let hers dry for 2 days. Next up, it's time for the finish. We'll cover that next time on Jill of All Trades!
PROJECT RATING: Easy+
To watch Jill take you through the steps, just click on the video player above.

