

DIY Rehab Tips for Renovating Trash-Picked Bench - Part 2

The Roadside Rescued Bench - Part 2
Jill of All Trades finishes the bench she found on the side of the road.
This week, our Jill of All Trades, Jill Washburn, picks up where she left off with the Roadside Rescue bench. Last time around, Jill glued and clamped the legs, to repair the major cracks that they had, and she used filler to fill in some of the damage to the top. With those tasks done, Jill turned her attention to bracing the legs so that they are rock-solid.
Years of use have left the legs loose and wobbly. There are braces on the inside of the legs, but they’ve come loose over time. First, Jill pried off the old braces, which was challenging because they were originally put on with REALLY LONG nails. Jill decided to keep them and re-use them, but that means that she had to remove the original nails. It took a bit of work, but she was finally able to pry and pound them out.
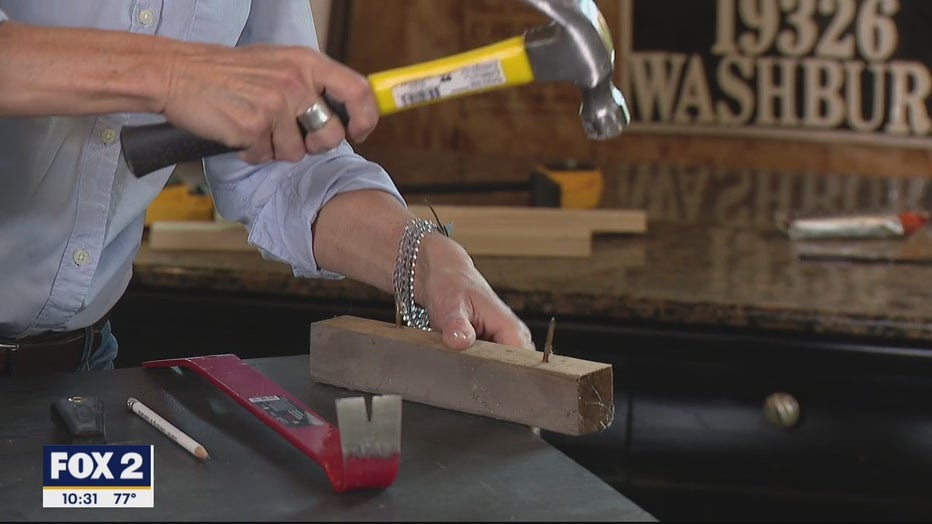
I'm pounding out the original nails from the braces.
There were also triangle-shaped braces connecting the legs to the seat. Those, too, were very loose and no longer doing their job. Jill needed to remove them so that they could be properly reinstalled. Again, she had to pry them off and remove the sizable nails that were holding them on. Once that was done, it was time to reinstall them.
Before Jill did that, she flipped the bench over and made sure the nails that went through the top into the legs were nailed all the way in. A few quick smacks of the hammer remedied that. Jill then flipped the bench upside down again and reinstalled the triangle braces. A few finish screws did the trick. Now the bench is super solid again.
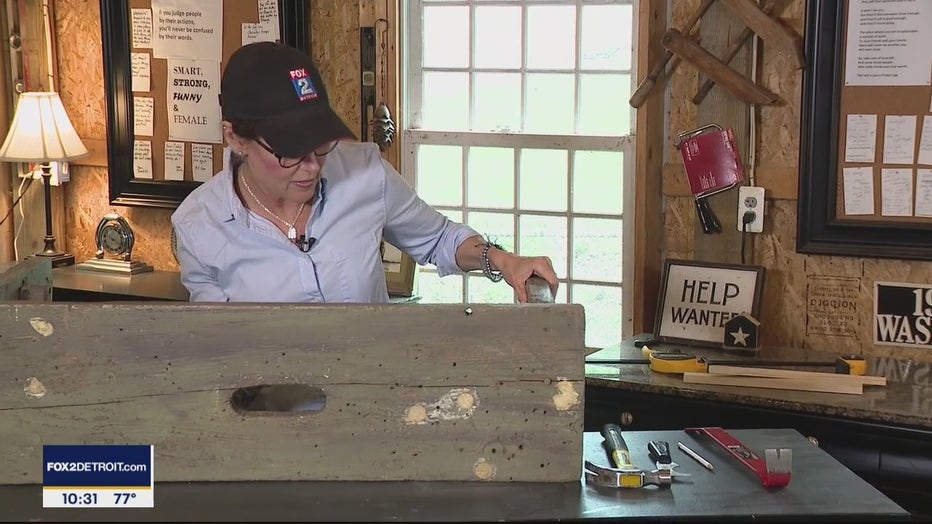
I'm making sure that the legs are attached solidly to the bench.
With the structure brought back to top condition, it was time to work on the bench’s finish. Because the wood is quite weathered, Jill felt that paint was the best option to restore its looks. Jill decided that this piece is a great candidate for some black paint. As Jill says, the color black "hides a lot of sins", meaning it covers a lot of minor flaws. Plus, black works with the color scheme in Jill’s house.
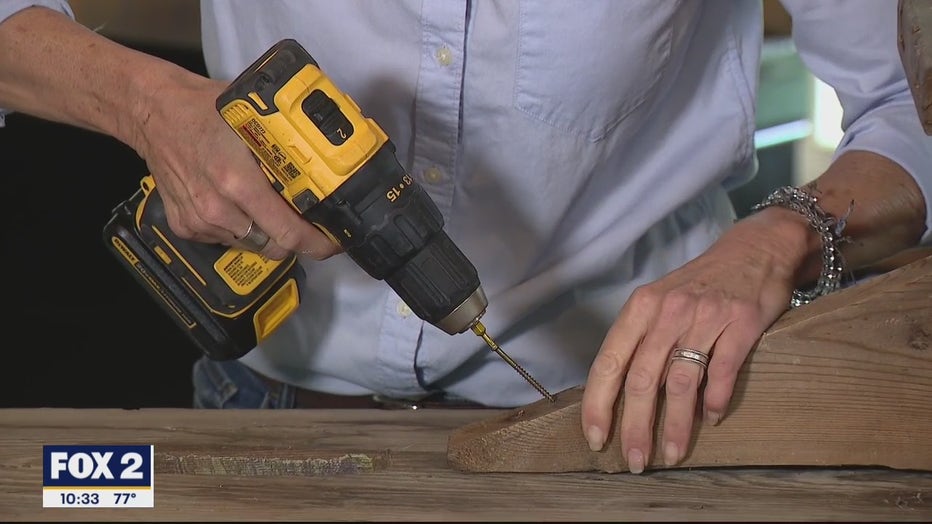
I'm putting new screws into the braces.
Jill used her favorite spray paint, Rustoleum Universal, in Satin Black. It only took a couple of quick coats and the bench was done. Jill lightly sanded the edges because she likes a slightly distressed look. Obviously, she didn’t need to "distress" the bench too much, as it already has some some age to it.
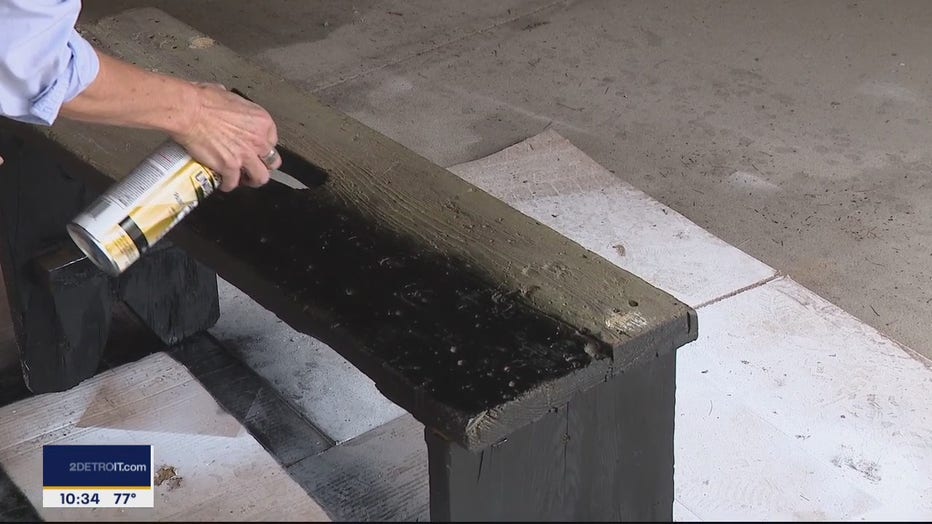
Finishing it up with a coat of paint.
So, the bench is done and already in service at Jill’s house, another Roadside Rescue is in the books, and a great old bench is saved from the landfill.
PROJECT RATING: Easy +
To watch Jill take you through the project, just click on the video player above.