

Rehabbing a Toddler Bed Rescued and Recovered on Trash Day

The Toddler Bed Re-hab Continues
Jill of All Trades shows us how she reinforces and finishes off the toddler bed that was found by the side of the road.
Last time around, our Jill of All Trades, Jill Washburn showed us how to re-think and reassemble the toddler bed that she had rescued from the side of the road. With the bed now assembled better than it was originally, Jill still had some things to do to finish it.
First of all, she wanted to reinforce it. Let’s be honest… kids jump on beds. Jill wanted to make sure that even if that happened on this bed, it would hold up to the challenge. To tackle that issue, Jill constructed a brace that fits underneath the bed. She started by measuring the clearance that she had under the bed. It was 7" from the bottom of the plywood to the floor. That’s the maximum height that the brace could be.
Next, she took a piece of scrap 1x6 lumber and cut it to a length equal to about a 1/3 of the total length of the bed. Then, she took a salvaged piece of 4x4 post that she had, and cut two 6 1/4" long pieces off it. She stood them up and then laid the 1x6 piece across them, centering the board over the posts and leaving only a slight overhang of the board at the ends. She then screwed the board into the ends of the posts. Jill only used two screws at each end, but they were fairly sizable in length. The resulting structure looked like a small bridge.
Jill then placed the "bridge" lengthwise under the bed. It fit perfectly. To test its strength, Jill stepped onto and stood in the center of the bed. Nothing happened. It held perfectly! If you wanted, you could attached the "bridge" to the plywood by driving screws through the top of the plywood into the "bridge", although you wouldn't need to, says Jill. Just placing it under the bed may be enough.
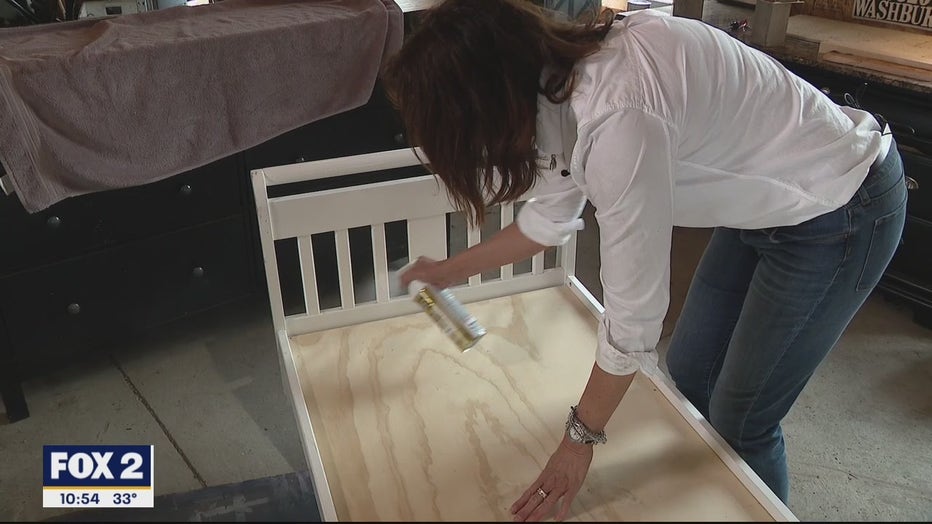
With the bed reconstruction finished, all that was left to do was fill some holes and give it a fresh coat of paint. Since toddler beds are often taken apart and stored, as needed, Jill didn’t want to make any of the construction permanent. That goes for the finishing as well. Jill filled the holes where hardware is holding the bed together with pieces of cut dowel, but she didn’t glue them in, so that they can be popped out at a later date and the bed can be taken apart for storage.
Once the dowel pieces were in place, Jill gave the bed a fresh coat of paint. The result is the cutest little bed that is stronger than ever and looks brand new.
PROJECT RATING: Medium
You can watch Jill take you through the process by clicking on the video player above.
Jill of All Trades finishes the rehab to toddler bed that was rescued on trash day.