

DIY Pro Tips for Lining Dresser Drawers with Fabric or Paper

Lining Drawers Like a Pro
Jill of All Trades shows us how to line a dresser drawer with fabric or paper.
This week, our Jill of All Trades, Jill Washburn, shows us how to replace the permanent lining in a dresser drawer. Some dressers come with velvet or felt linings in the top drawers where it might be common to store jewelry or other valuables. But, what do you do if that lining get damaged or worn? Jill has the answer, and she shows us how to replace one.
Jill’s dresser was a bargain find on Facebook Marketplace. It had a few issues that needed repairing, one of which was a drawer lining that looked to be stained from a leaky battery. Truth be told, Jill wasn’t wild about the red velvet lining anyway, so she opted to replace it with a charcoal grey felt.
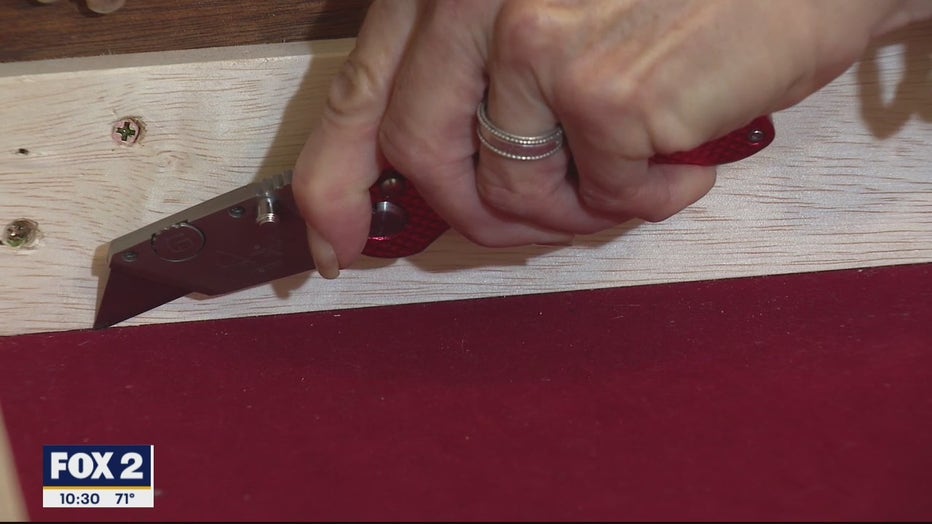
I used a razor knife to remove the old fabric.
First, Jill had to remove the velvet which had been glued to the drawer bottom before the drawer was assembled. To do that, Jill had to run a razor knife around the edge of the drawer, cutting through the edge of the fabric along the sides of the drawer. Next, she took a screwdriver and loosened the edge of the fabric by prying it away from the sides of the drawer.
With the edges loosened, Jill then took a pliers and grabbed the edge of the fabric and pulled it out of the drawer. The fabric probably won’t come out all in one piece, says Jill, but it shouldn’t be too hard to pull out.
Once the original fabric is out, you can lay your new fabric in and see what it looks like. You do not have to have it trimmed to size yet. Once you have it laid out the way you want, you’re ready to install it. Pull the fabric out. You’re ready to apply the glue.
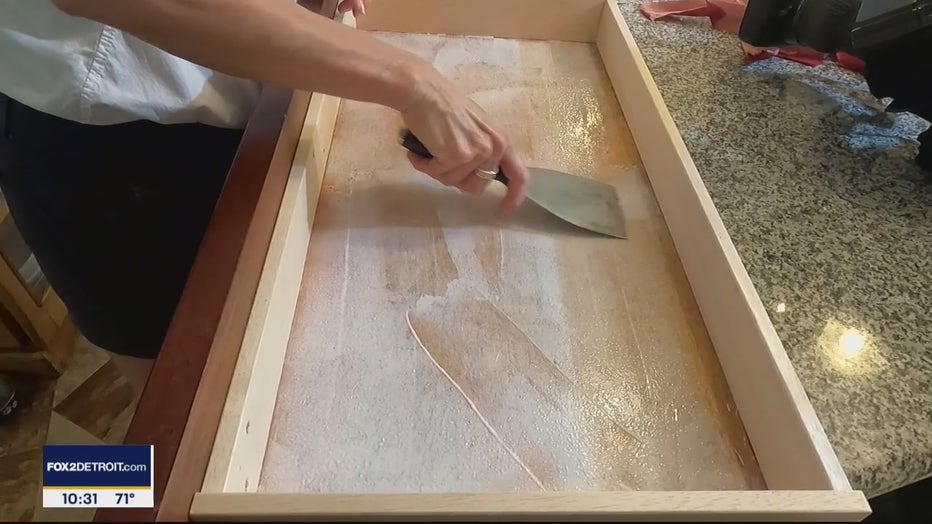
I used a putty knife to spread a perfectly thin coat of glue.
Jill just drizzled normal Elmer’s glue around the bottom of the drawer. Then she took a putty knife and spread it into a super thin layer completely covering the bottom of the drawer. She carefully smoothed the fabric across the bottom of the drawer, taking care to make sure the edges of the fabric extended all the way to (but not on) the sides of the drawer.
Once the new fabric is in, if it falls short of the edges, you can nudge it a little further with your fingers. The whole process is rather forgiving, so it shouldn’t be hard to get the fabric in place. If you need to, you can even wash off your putty knife and use that to nudge the fabric up to the edges.
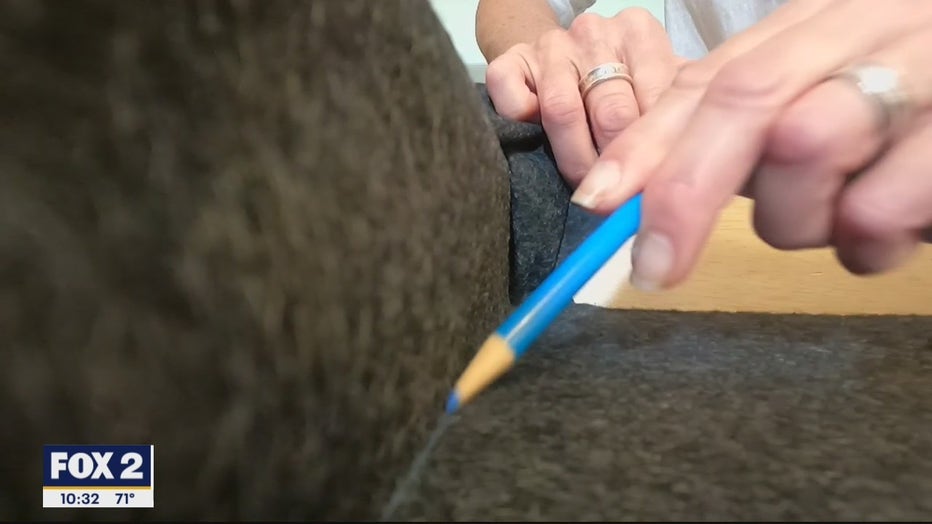
I used a colored pencil to mark where I wanted to cut.
If you need to trim the fabric, you can mark the line with a pencil, maybe even a colored pencil, depending on the color of your new fabric. Then pull the edge of the fabric out and use scissors to cut along the line. Then press the fabric back into place and smooth it out. It should be a perfect (or near-perfect) fit. If it over laps the edge slightly, let it dry, says Jill, and then come back later once the glue is dry and trim it with the razor knife. If you try to trim it while the glue is still wet, the fabric will want to pull away and cutting a straight line will be difficult.
After trimming, if any, you’re done! Your drawers will look amazing and feel more high-end. That’s the fabric option. Now, let’s do the paper option.
Lining drawers with paper is super simple. Careful measuring is the key. Measure the bottom of your drawer and cut the paper to fit. ***Jill’s tip*** Better to cut slightly large than too small. You can alway trim it a bit, if it’s large.
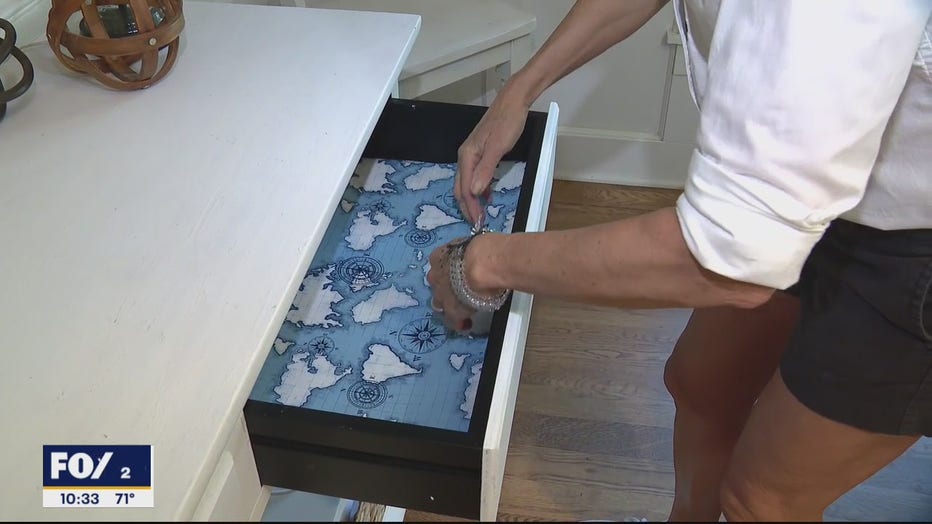
High quality wrapping paper makes an excellent drawer liner.
Jill’s best tip for the paper method is that you don’t have to use expensive liner paper. Jill just uses a high quality wrapping paper. She says it gives you way more options, comes it bigger rolls, and saves you a ton of money. Jill found a roll of great high-end wrapping paper that she absolutely loves at Marshall’s for just $2.99.
So, you’re done! Your drawers (not those drawers!) your dresser drawers or desk drawers have gotten a major upgrade!
PROJECT RATING: Easy
To watch Jill take you through the process, just click on the video player above.