

DIY Tips for Repairing Your Own Clock and Replacing the Clocks Works

Repairing the Clock
Jill of All Trades shows how easy it is to replace the clock works on a battery operated clock.
This week, Jill Washburn, our Jill of All Trades, shows us how to replace the clock works on a battery operated clock. One of Jill’s favorite clocks had died and a new battery couldn’t get it going again, so it was time (no pun intended) to dig deeper.
Jill says that the main thing that you need to know for replacing the works on a clock is the length of the stem. The stem is the part that the hands rest on. Different clocks require different stem lengths depending on what they're made of and how they’re put together. To determine the stem length, you want to measure the stem from its base where it goes into the works box to the very end of the stem.
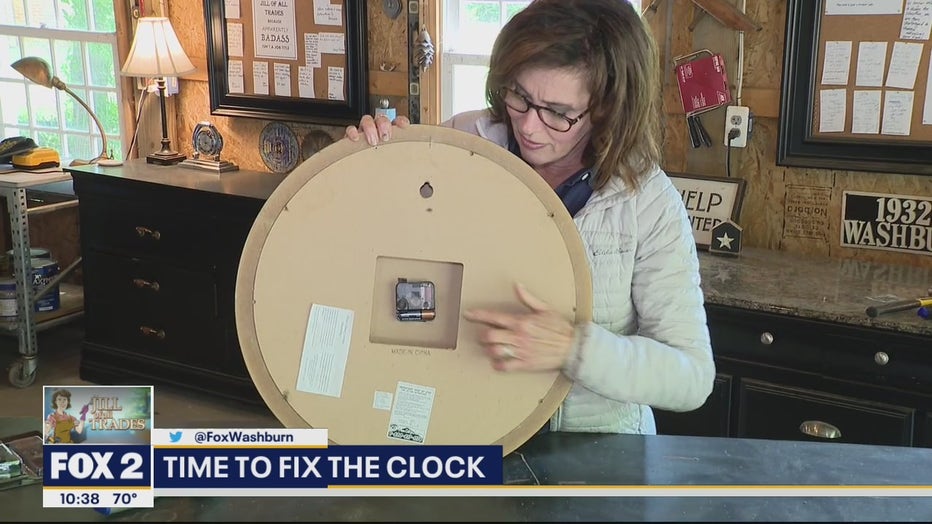
Here is where the clock works box is on your clock.
From there, you can shop online or local craft stores, woodworking stores, hardware stores, or the big box building stores to find what you need. Jill says that she was lucky that her clock’s stem was one of the more common sizes so she was able to locate a works box locally at Michael’s.
Another detail to be mindful of, says Jill, is how the hands attach. On Jill’s clock, the hour hand had a round hole and the minute hand had an oblong hole (which is not uncommon), so she had to make sure that the works she found would accommodate hands like that. If your clock has longer hands, you may want to choose a high-torque works. Those are just a little more powerful, so that they can drive the longer hands.
Once Jill had found the proper works for her particular clock, she was ready to tackle the project. Before she started, Jill marked with a pencil the top of the clock on the back. The mark extended from the backing up onto the frame. This was so she could easily line everything up again when she went to reassemble it.
With the clock face down, Jill unscrewed all the screws that were holding the back on. She put them aside in a small bowl so that she didn’t lose any of them. She removed the back and set it aside. Then she removed the screws that were holding the face on, putting those in the bowl, as well. She made another pencil mark on the back of the face, lining it up with the earlier marks, so that she could easily line up the face during reassembly.
Once the face was removed, Jill flipped it over and carefully removed the hands. First there was a small button that covered the end of the stem. She gently pulled that off. Then she removed the tiny nut that held the hands on. Next she lifted off the minute hand, using care not to bend it. Most clock hands are deceivingly thin and fragile. After that, she removed the hour hand. That took a little wiggling before it would come off. Last, there was a larger nut that secures the works to the clock face. She removed that and the washer beneath it.

I used a paint scraper to gently pry the works box free.
With all of that done, the works will come right off. Some clocks, like Jill’s, have some adhesive holding the works in place. Jill just used a paint scraper to gently get underneath the works and get it to break free. In fact, the double-stick foam tape that was holding the works in place was still in good enough shape, that Jill reused it to put the new works box on.
Once everything was taken apart, it was time to reverse the process and put it all back together using the new works. Still working from the back, Jill fed the stem of the works through the hole in the face and made sure she had it positioned with the top of the works lining up with the top of the face. She then flipped it over and put the washer back on the stem and secured it with the large nut. She gently placed the hour hand back on the stem. It’s a tight fit, so she had to gently apply pressure to get it seated where it should be.
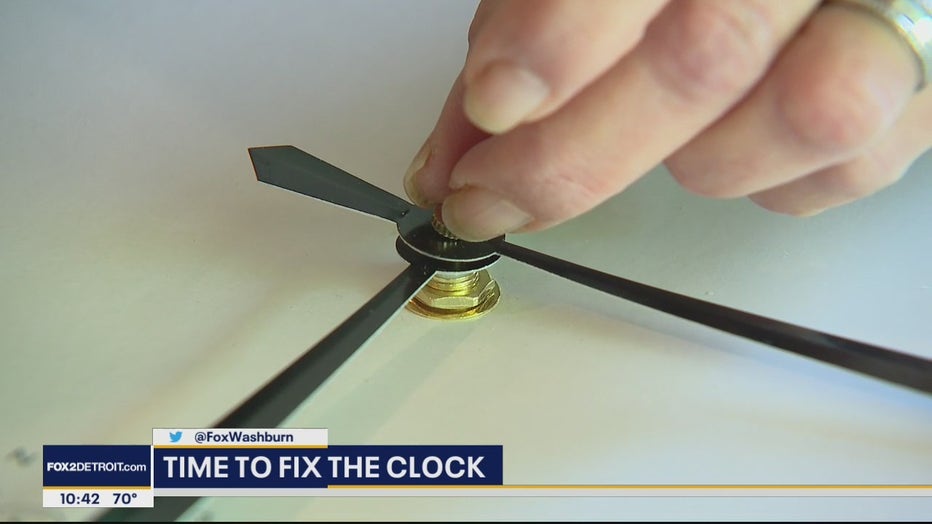
I carefully reinstalled the hands of the clock.
Next, Jill place the minute hand back on the stem, using care to line up the oblong slot with the oblong section of the stem. Once that was in place, she replaced the tiny nut that holds the hands on and then the little button that covers the end of the stem. At that point, the clock was, technically, back in working order. All that was left to do was to reassemble it in the frame and replace the back.
Jill placed the face and works back into the frame, making sure that her marks lined up at the top. She fastened it all in place using the screws she had previously removed. She then repeated that process with the clock’s back, making sure her pencil marks aligned and fastening it with the screws.
Project done! The only thing Jill needed to do was set the time and replace the battery. Jill’s clock is now back in service and good for many more years of keeping time.
PROJECT RATING: Easy+
To watch Jill take you through the process, just click on the video player above.